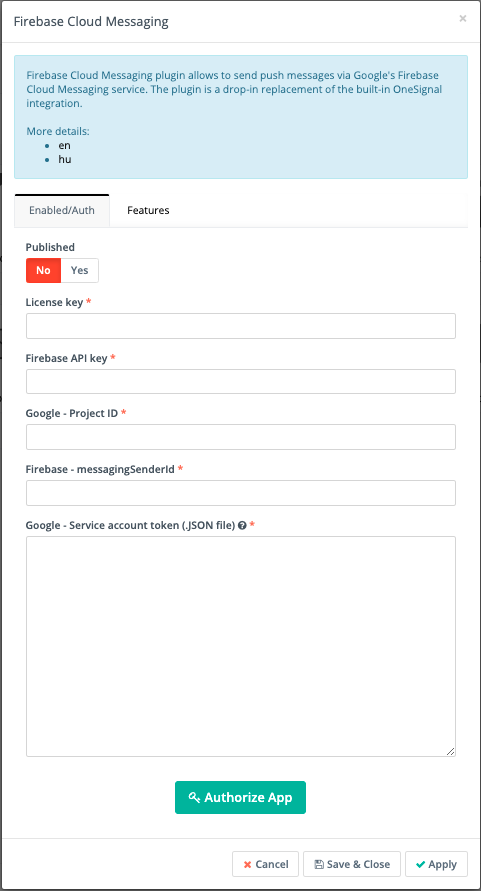
So there is a company that has released a plugin, and as always I rushed out to get it.
The plugin can be purchased from here.
The main problem is that the plugin is not that simple to install if you are a Mautic newbie or not very technical. I went through many different iterations and frustrations before I got it up and running.
And today I am going to document the steps that are needed in order to getting it functional. In the next blog post we will dive deeper into the configuration and workings of the module.
Installation Instructions:
1. Download the plugin
2. Save the plugin in your working directory.
3. I created a directory called Firebase as I wanted to see what was inside the zip.
4. Create a directory inside your mautic plugins folder called “FCMNotificationBundle”:
sudo mkdir /var/www/mautic/plugins/FCMNotificationBundle
5. Copy the contents of the Firebase directory to the new plugin directory:
sudo cp * /var/www/mautic/plugins/FCMNotificationBundle
6. Change the permissions on this directory to your web user, in my case it was:
sudo chown -R www-data:www-data /var/www/mautic/plugins/FCMNotificationBundle
7. This plugin requires an external php extension called bolt. You can download it from here.
8. The way I like to do this is I made a directory called BOLT in my working directory and from there ran the command:
sudo wget https://phpbolt.com/wp-content/uploads/2020/11/phpBolt-extension-1.0.2.zip
9. Unzip this file:
sudo unzip phpBolt-extension-1.0.2.zip
10. Once you do this it will make a new folder with all the different versions of bolt that are relevant for your server.
11. You now need to understand what ubuntu version you are running, if it is 34 bit or 64 bit. In order to find this out type in the following command:
getconf LONG_BIT
You will get output of either 32 or 64.
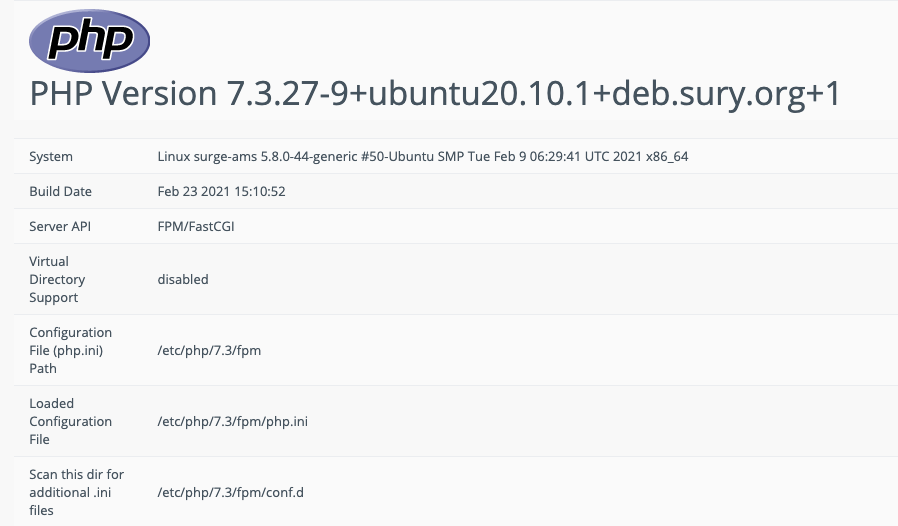
12. You then need to find out what version of php you are running. There are many ways to find this out, if you are not that technical simply go into your Mautic and click on the Settings Cog in the top right part of your screen and choose “System Info”, Then “Pph Info” and you will see this screen:

In the above you can see that I am running php-7.3
13. Now you need to go back to your bolt directory and choose the correct version of bolt to install. Below you will see the commands I did and the subdirectories in order to find the correct one for you. [Remember I am running on a linux 64 Bit with php-7.3]

14. Next we need to put the bolt.so file in a place that the system can find it. What I did was went and created a directory called bolt in my corresponding php directory:
sudo mkdir /etc/php/7.3/bolt
15. Next I copied the bolt.so file to that directory:
sudo cp bolt.so /etc/php/7.3/bolt/
16. Now we need to tell php where to find this file. So in order to do so we need to edit our php.ini file. As you can see from the first picture above inside the php info screen we look at, we can see that the php.ini file that Mautic is using is located in /etc/php/7.3/fpm/php.ini
17. I always like to make a backup of files I am editing, so i did the following:
sudo cd /etc/php/7.3/fpm/
sudo cp php.ini php.ini.bak
18. Now you need to go and edit this file. You can use either nano or vim, whatever is easier for you. Open the file and search for the word “extension”. You need to look for the section that begins with Dynamic Extensions

19. Next scroll to the bottom of that section and add in a line:
extension=’/etc/php/7.3/bolt/bolt.so’

20. Now you need to restart the php-fpm service in order for it to re-read the php.ini file:
sudo systemctl restart php7.3-fpm
21. At this stage I suggest going back to Mautic and refreshing the System Info window and searching for the word bolt. You should see something like this:

22. Next thing is you need to make sure you have composer installed, if you do not you can follow the instructions here.
23. Now we need to run composer to get the plugins dependancies installed. To do this go to your mautic directory:
sudo cd /var/www/mautic/
sudo -u www-data composer require plokko/firebase-php
24. Some Issues that might come up
25. You might have installed version 2 of composer and if so you will get the following error

26. If this is the case you will need to downgrade your version of composer. In order to do so run the following command:
sudo composer self-update –1
27. Once this is done you can go back to point #23 and rerun composer.
28. The last thing to do it to clear mautic cache:
cd /var/www/mautic/var/cache/
sudo rm -rf *
29. No go back to Mautic and click on Settings-> Plugins and you should see the new plugin installed and ready to be configured there.

Stay tuned for the next blog on how to configure the plugin and put it to the test!!
